I use Neovim for all my programming, and it’s largely because I’m very particular about the parts of an editor I want to interact with. It's also because Neovim is very small, efficient, and I can use it over SSH. VS Code and other IDEs have Vim modes, but VS Code's Vim mode is missing at least one feature I use several times a minute. It's a pain to run on an immutable distribution like Fedora Silverblue through Flatpak or Distrobox (though I don't use Silverblue currently, I may in the future). Philosophically, I don't much care for VS Code either.
I'm too cheap to pay for PHPStorm, so that rules Jetbrains' editor out. Aside from this, its Wayland support is incomplete, and I'm not sure whether it fares any better under Silverblue. I'm sure it has a few cool features I can't get in Neovim with just a language server, but I don't need them right now.
So, I use Neovim because I like it, and I like everything else a lot less. I still appreciate the tooling you get with batteries-included IDEs, and I wanted it in Neovim. This article explains how I did it.
How I Use Neovim
I try to do as much as possible within Neovim without reaching for plugins. I enjoy the core Neovim experience and don’t want to mess with it too much. I want Neovim to be useful, but minimal.
When I say “IDE” (short for Integrated Development Environment), I’m talking about an environment I can comfortably use to get my work done.
I would say that accurately describes the following environment for me. You may need more features or fewer, but if you enjoy the Vim workflow, this should be comfortable for you.
You don’t need to use a single plugin to get the features described in this article.
Sessions with Zellij
While it’s possible to use sessions within Neovim (see :help sessions), and you can use embedded terminals within Neovim using :term, Zellij is nicer, easier to use, and has more features.
Zellij lets you create a workspace for all your terminal-based utilities. You can learn most of the features you’ll end up using in 15 minutes. Neovim sessions only live within Neovim, but with Zellij, you can bring along other terminal utilities. It’s nice that Neovim has a built-in terminal, but a native terminal inside Zellij is so much nicer. And hey, you can combine Neovim sessions with Zellij if you already use them.
I like Zellij because it means after I SSH into my machine, I can quickly connect to a full session with Neovim + other tabs/tools.
Zellij is the final layer on top that elevates the Neovim experience.
I’d advise remapping CTRL+N so it doesn’t conflict with Neovim’s shortcut in config.kdl, though:
keybinds {
    normal {
        unbind "Ctrl n"
...
    shared_except "resize" "locked" {
        bind "Ctrl m" { SwitchToMode "Resize"; }
    }
My init.vim File
I use a ~/.config/nvim/init.vim file which is written in both Vimscript and Lua. The reason is because the first half was written back when I used Vim, but configuring Neovim's Language Server feature requires Lua, or is at least far easier. Lua's pretty simple to use. If you have a purely Lua init script for Neovim, just convert all the Vimscript commands in this article by enclosing them in vim.cmd().
If you want to use both Vimscript and Lua in the same file, you need to put all your Lua code in this heredoc:
lua << EOF

... lua configuration

EOF
Setting Syntax Highlighting and Indentation For File Types
When I’m writing a Symfony application, I’m editing a number of different file formats. I like to have syntax highlighting along with these indentation settings (this is, unironically, the most complicated part of my Neovim setup; figuring out how to insert tabs/spaces correctly. Just be glad this isn't Python...):
syntax on
set number

autocmd FileType html setlocal et ts=2 sw=2 sts=2 autoindent fileformat=unix foldmethod=manual
autocmd FileType css setlocal et ts=2 sw=2 sts=2 autoindent
autocmd FileType javascript setlocal et ts=2 sw=2 sts=2 autoindent
autocmd FileType php setlocal et ts=4 sw=4 sts=4 autoindent
autocmd FileType twig setlocal et ts=2 sw=2 sts=2 autoindent syntax=html

filetype plugin on
Setup Basic Autocompletion
This will enable basic syntax autocompletion even without a language server:
set omnifunc=syntaxcomplete#Complete
You can activate it with CTRL+X followed by CTRL+O.
This is not enough for me, but it’s handy when you don’t have access to a language server.
Installing and Configuring the Phpactor Language Server
Phpactor is a great, free software language server for PHP that has a few Symfony completions.
The standard language features this server provides are more than enough for me.
It’s pretty easy to install Phpactor. I installed it via the Arch User Repository because I use Arch Linux, but it’s distributed as a PHAR that you can install on any environment with PHP.
Once you’ve got it installed, you just need to configure it:
  -- Built-in LSP Server Config
  vim.lsp.config["phpactor"] = {
    cmd = { "phpactor", "language-server" },
    root_markers = { 'composer.json', '.git', '.phpactor.json', '.phpactor.yml' },
    filetypes = { 'php' },
    init_options = {
      ["symfony.enabled"] = true,
    }
  }
The first argument in cmd is the command to run the server, followed by arguments.
The root_markers variable describes the files Phpactor should look for determine where the root of the project is. They work in precedence; if it doesn’t find composer.json, it moves onto .git, and so on.
filetypes tells Neovim to activate this language server only for files ending in this extension. As you'll learn later in this article, using the filetype plugin can screw with this. Don't include the "." in the extension.
You enable the Symfony features with the last init_options argument.
For more detail, see :help vim.lsp.config.
Then, just enable the server with your configuration:
  -- Enable LSP servers
  vim.lsp.enable({'phpactor'})
Lastly, you need to configure autocomplete:
  -- Built-in Autocomplete
  vim.api.nvim_create_autocmd('LspAttach', {
        callback = function(ev)
        local client = vim.lsp.get_client_by_id(ev.data.client_id)
        if client:supports_method('textDocument/completion') then
                vim.lsp.completion.enable(true, client.id, ev.buf, {autotrigger = true})
        end
  end,
  })

  -- Configure noselect, because the default is really annoying and broken. Cycle through with CTRL-N/P
  vim.cmd("set completeopt+=noselect")
You might consider setting noinsert instead of noselect, but if you do that, I recommend not setting Enter as a keybind alias for accepting completions, or it will become very annoying in certain circumstances.
There are some more options you can configure, like virtual lines for diagnostics:
  -- Error Diagnostics on virtual lines
  vim.diagnostic.config({
          -- Use the default configuration
          virtual_lines = true

          -- Alternatively, customize specific options
          -- virtual_lines = {
          --  -- Only show virtual line diagnostics for the current cursor line
          --  current_line = true,
          -- },
  })
Or how the windows look:
vim.o.winborder = 'rounded'
Neovim comes with some default keybindings you can use to communicate with the language server, and I’ve setup some additional ones:
  ---- Start Keybinds ----

  -- "grn" is mapped in Normal mode to |vim.lsp.buf.rename()|
  -- "gra" is mapped in Normal and Visual mode to |vim.lsp.buf.code_action()|
  -- "grr" is mapped in Normal mode to |vim.lsp.buf.references()|
  -- "gri" is mapped in Normal mode to |vim.lsp.buf.implementation()|
  -- "gO" is mapped in Normal mode to |vim.lsp.buf.document_symbol()|
  vim.keymap.set('n', 'K', vim.lsp.buf.hover, {})
  vim.keymap.set('n', 'gsh', vim.lsp.buf.signature_help, {})
  vim.keymap.set('n', 'gD', vim.lsp.buf.definition, opts)
  vim.keymap.set('n', 'grt', vim.lsp.buf.type_definition, opts)
  vim.keymap.set({ 'n', 'v' }, '<leader>ca', vim.lsp.buf.code_action, opts)

  -- Use CTRL-space to trigger LSP completion.
  -- Use CTRL-Y to select an item. |complete_CTRL-Y|
  vim.keymap.set('i', '<c-space>', function()
    vim.lsp.completion.get()
  end)

  -- Press Enter to accept a completion as an alias to CTRL-Y.
  vim.cmd("inoremap <expr> <cr> pumvisible() ? '<c-y>' : '<cr>'")

  ----  End Keybinds  ----
For example, you can hit K on any function or class in Normal mode, and it will describe it for you in a window.
Or you can go to the definition for a class with gD.
If you just want to find all the references for a function, you can hit grr, and go through them in a quick fixes window with Enter.
But what’s really useful are the Code Actions, which you can trigger with gra. It will let you choose what action to run on the current file/project.
More info available for mapping LSP features in Neovim at :help vim.lsp.buf.
Look at Phpactor's docs for more info on its features.
You can cycle through autocompletions while typing with CTRL+N and CTRL+P, and you can use CTRL+Y (or Enter) to apply the autocompletion. This will also import any necessary namespaces.
All of a sudden, Neovim is very powerful for PHP development.
Jump Around Quickly by Listing Your Buffers
This is a really useful shortcut to have when you’re jumping around files and definitions:
nnoremap <Leader>b :buffers<CR>:buffer<Space>
By default, the <leader> key is backslash. So, hitting backslash + b will bring up your buffers to switch from.
Adding Twiggy Language Server
If you want a language server for Twig, you can also install and configure Twiggy.
I used Mason to install it, but you can use npm, if you like.
  vim.lsp.config["twiggy-language-server"] = {
    cmd = { "twiggy-language-server", "--stdio" },
    root_markers = { 'composer.json' },
    filetypes = { 'twig' },
    settings = {
              twiggy = {
                      framework = 'symfony',
                      phpExecutable = '/usr/bin/php',
                      symfonyConsolePath = 'bin/console',
                      diagnostics = {
                              twigCsFixer = true,
                      },
              },
    },
  }

  vim.lsp.enable({'twiggy-language-server'})
You can enable or disable TwigCSFixer by setting the key to true or false.
It's very important to add this line to your file extension section after installing/configuring Twiggy:
autocmd FileType twig runtime! ftplugin/html.vim
This will load all of the HTML editor settings from the filetype plugin directory without actually setting the filetype to html. This means Twiggy will run on .twig files, and you get to keep your HTML settings, like using % to jump from the beginning to the end of a tag (very useful!).
Neovim has a bunch of plugins that ship with the runtime, which you can find at /usr/share/nvim/runtime or wherever your package manager installs it. The HTML ftplugin is just a set of Vim commands that sets up the editor for HTML files. There are another 420 .vim files just like it in the directory for various file types. There are more in the syntax/ and indent/ and you can source any of them using the runtime command.
If you ever find a command you don't understand, just type :help <command> - Vim's manual is fantastic.
More Neovim Settings
These are some miscellaneous settings which make Neovim nicer for me to use:
Spellchecker!
Pelase spell things correctly.
setlocal spell spelllang=en_us
This will highlight misspelled words in your text, which you can fix by hitting z= in Normal mode and selecting the correct spelling.
It will also highlight a lot of correctly spelled words and pronouns it doesn’t know. You can use zG to add it as a “good word” to your internal word list.
See :help spell for more.
Use the System Clipboard
I prefer Neovim to push and pull buffers directly to and from my system clipboard. I’m copying things out of Neovim and pasting things into Neovim all the time. It’s annoying needing to remember to hit "+y or remembering whether I need to paste with p or CTRL+SHIFT+V`.
So, I don’t differentiate, and use my system clipboard for all copy-and-paste operations:
set clipboard=unnamedplus " use system clipboard
netrw Settings
Did you know Neovim has a built-in file browser? You can access it with :Explore. These are the settings I use with it:
" file browsing
set path+=**
set wildmenu
let g:netrw_liststyle=3 "tree view for netrw
let g:netrw_winsize = 25
Truthfully, I use lf via ptzz’s lf plugin these days. netrw is good, but it just can’t hold a candle to the power and speed of lf.
Search Settings
Some basic good defaults for searching a file:
set hlsearch
set ignorecase
set incsearch
Take Your Work With You Over SSH
I do my development on my desktop, but I also have a laptop and I like to move around throughout the day and take my work with me. Because I'm working with uncomitted changes and it's a pain to setup my environment again on my laptop, the easiest way for me is just to SSH into the machine and bind the webserver port on my desktop to a port on my laptop and continue where I left off.
After I SSH in, I just attach to my already running Zellij session.
It takes two commands:
ssh -L 443:localhost:443 desk

zellij a symf
And just like that, I'm back where I left off. It uses the source code and terminal utilities on the desktop, so I don't even need to have anything other than a web browser and SSH installed on my laptop.
This is certainly possible on VS Code, but it seems...complciated.
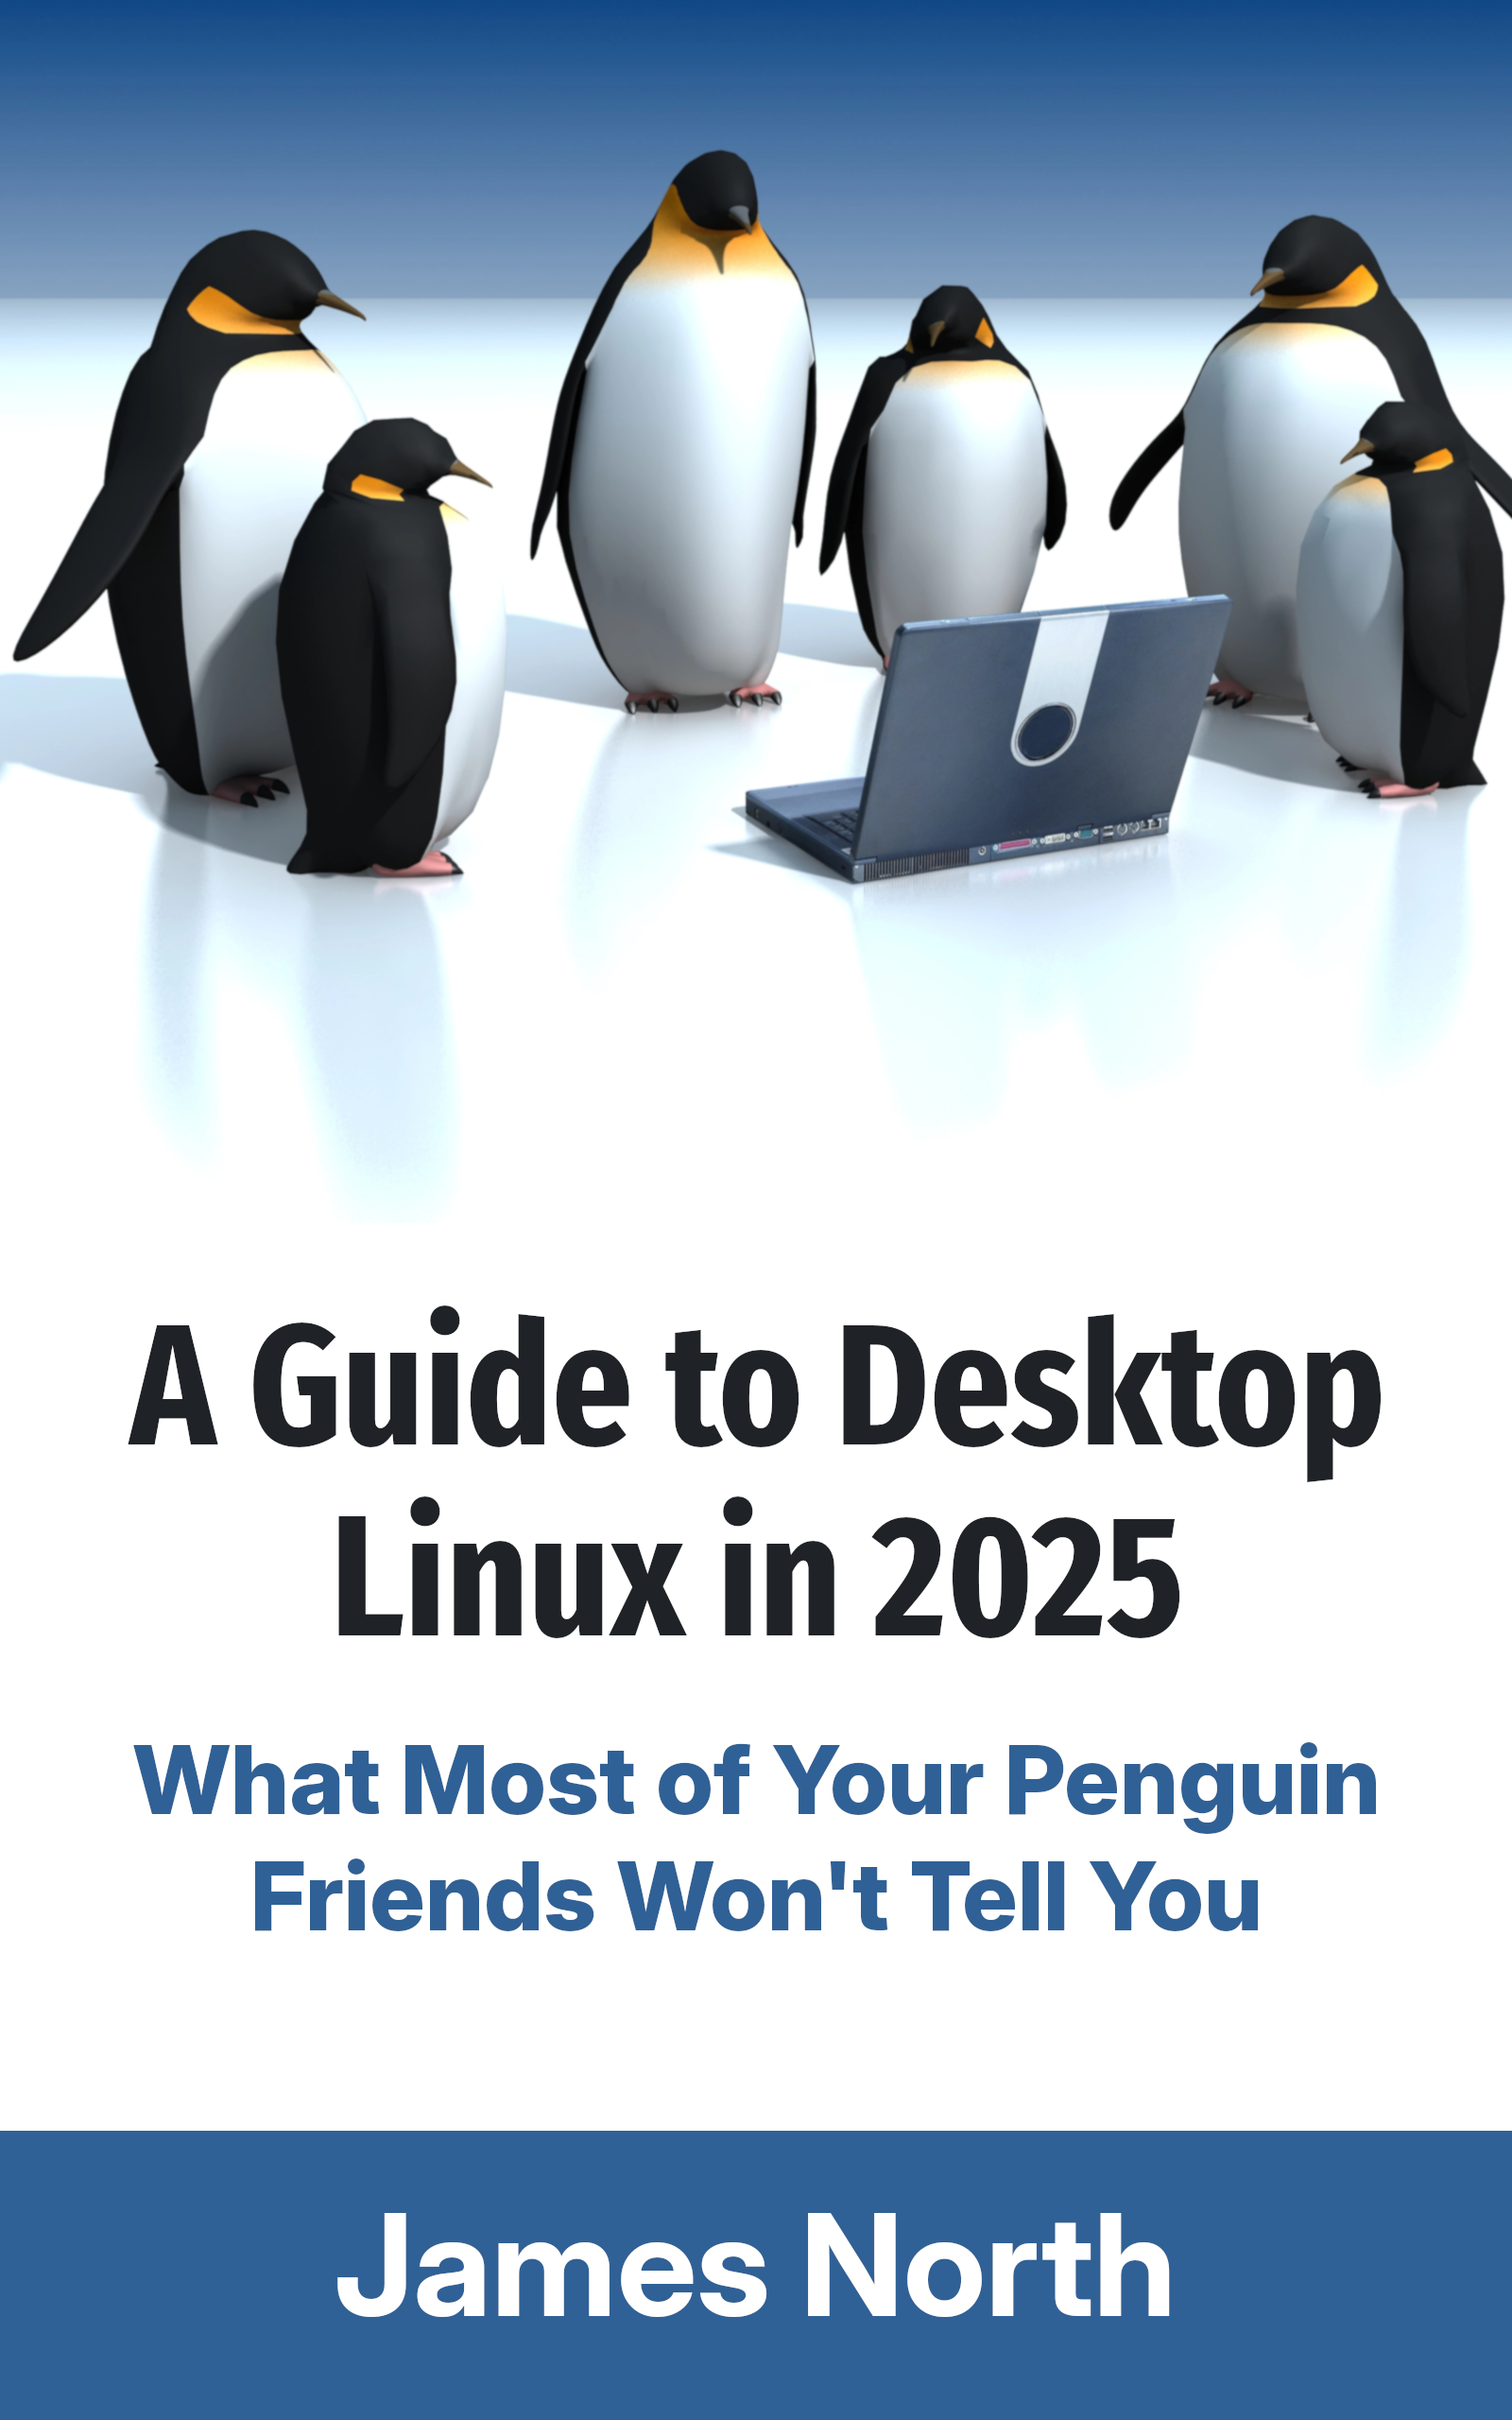
Looking to dive into Desktop Linux?
A Guide to Desktop Linux in 2025, available for purchase as an eBook and in Print, is just the handbook you need to orient you on this journey.
Whether you're worried Windows no longer has your best interests at heart, or you're just plain curious, this guide will help you get up and running while avoiding all of the usual potholes and footguns along the way.
If you tried Linux a long time ago, you'll be glad to know all aspects of the desktop have only gotten better over time. You might not even recognise it!
It's not 1998 anymore. It's been over 30 years since Linux was first released, and the Linux Desktop has undergone seismic shifts in usability and capability over the years. This book is designed for the modern age and helps you take advantage of all the latest technology available for desktop Linux. Even if you've used Linux before, things have changed a lot in just the last few years.
That's not to say the Linux Desktop isn't as quirky as it has ever been, but the jankiness has been sanded off in many areas. There's plenty you can do on Linux, and yet it would be a lie to say there isn't a cost to that freedom most of your penguin friends aren't forthcoming about. This guide acknowledges the limitations of the Linux world and doesn't try to hide them from you.
In this book, you'll find chapters about:
- getting your new Linux distribution setup on your computer
- providing step-by-step guidance for installation, software compatibility,
- gaming, and productivity
- exploring the history of desktop Linux
- the bright yet uncertain future of Linux
Buy this book now and dip your toes into the weird and wonderful world of Desktop Linux. Just don’t blame me when your house starts filling up with penguin plushies and red hats.
Written by
James North
Project Manager and Company Director at Evolvepreneur.
Part-time system administrator for Evolve Systems Group.
Part-time writer and author of A Guide to Desktop Linux in 2025.
Symfony developer.
You Might Also Like
How to create professional audiobook .m4b files in under a minute using your WEB BROWSER!

James North
May 31, 2026




Comments (0)
No comments yet. Be the first to comment!